Documentation for SBCL

1: Home 

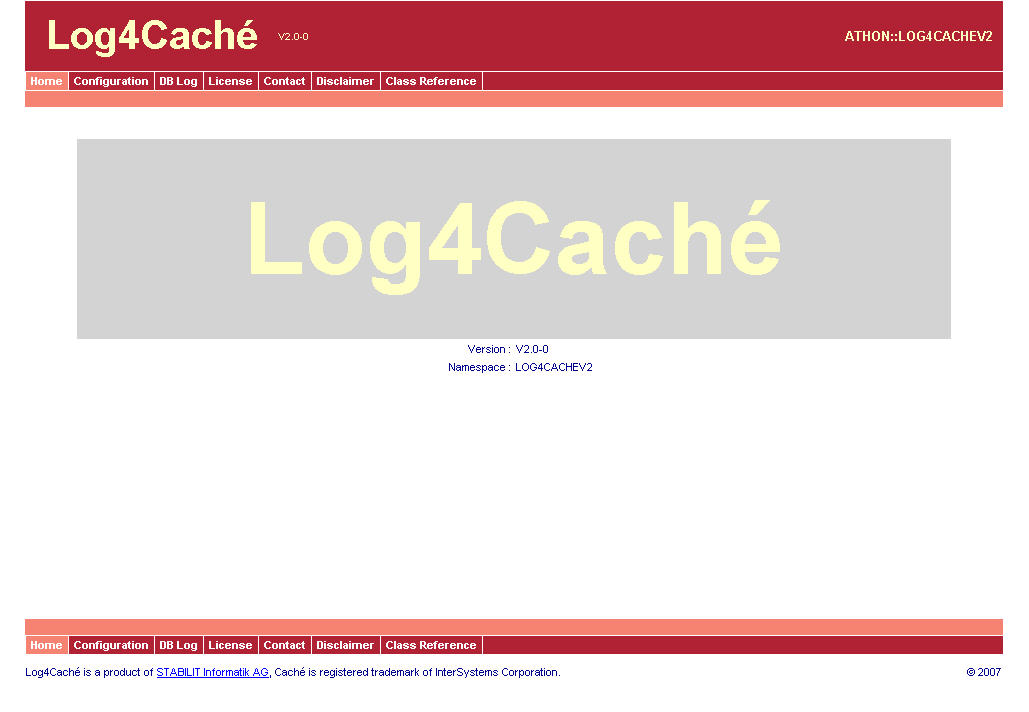
The start page look as follows: (Click on the thumbnails to get a full size picture)

It consists solely of the menu structure. The menu corresponds with the tasks you can perform:

  • Home: Return to the start page
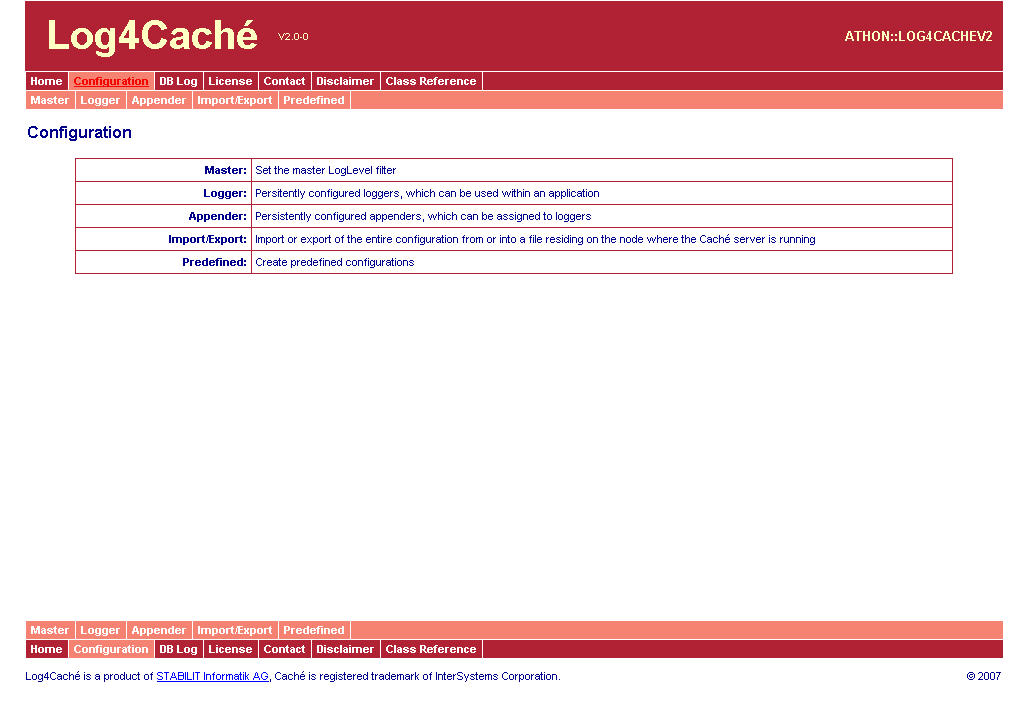
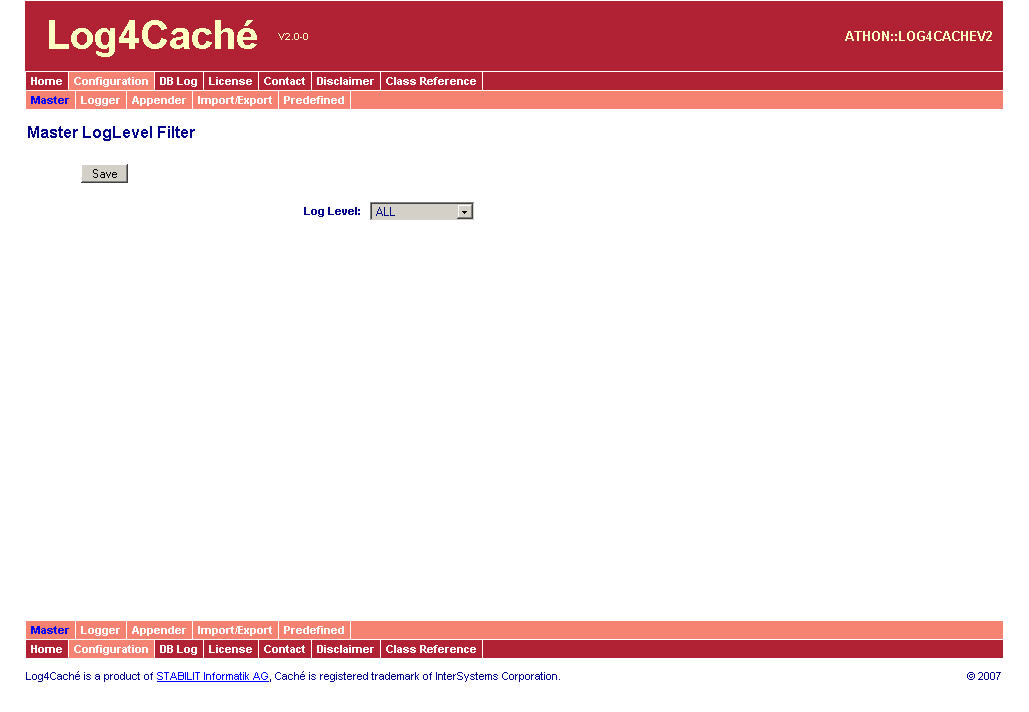
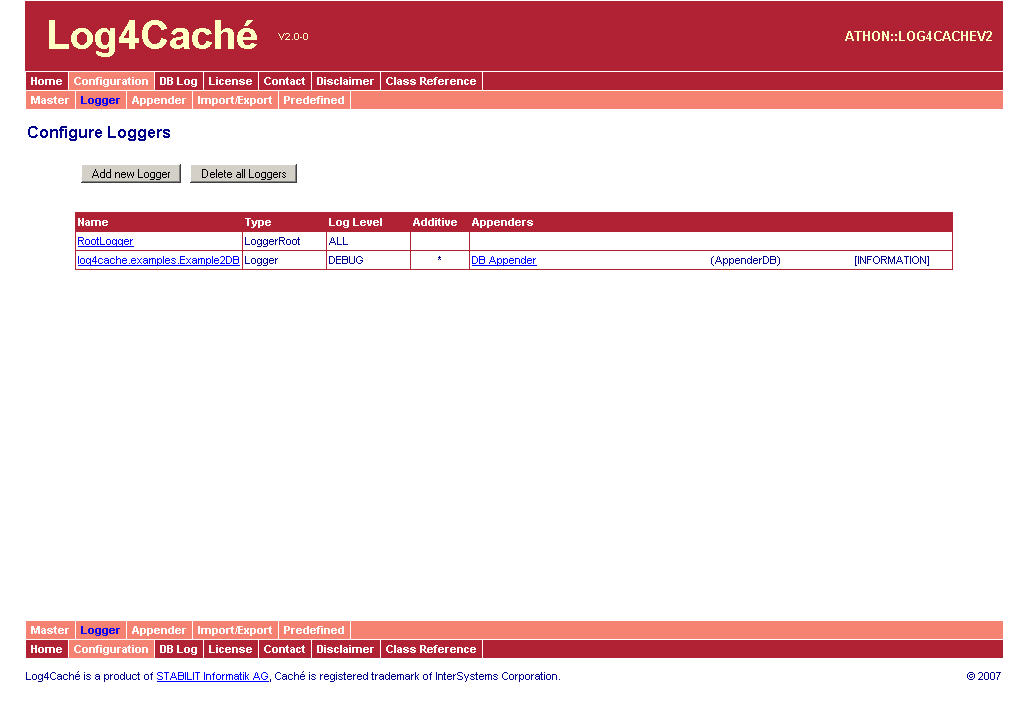
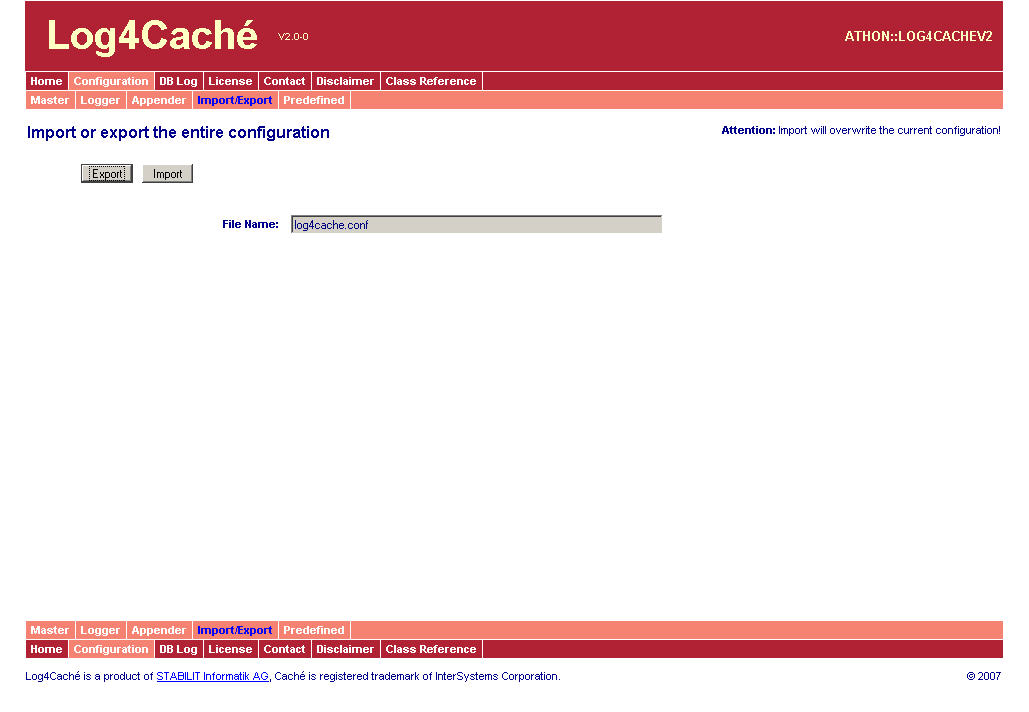
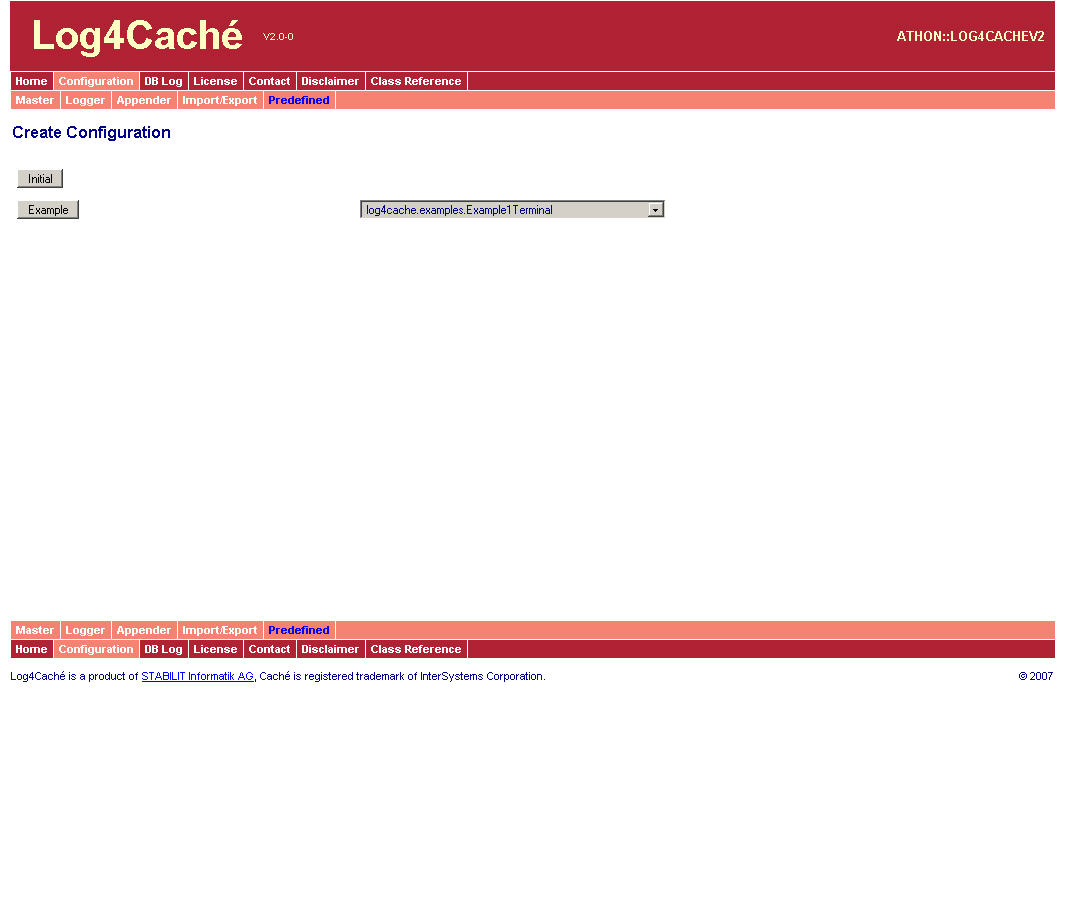
  • Configuration: Create, view, modify, import, and export configurations
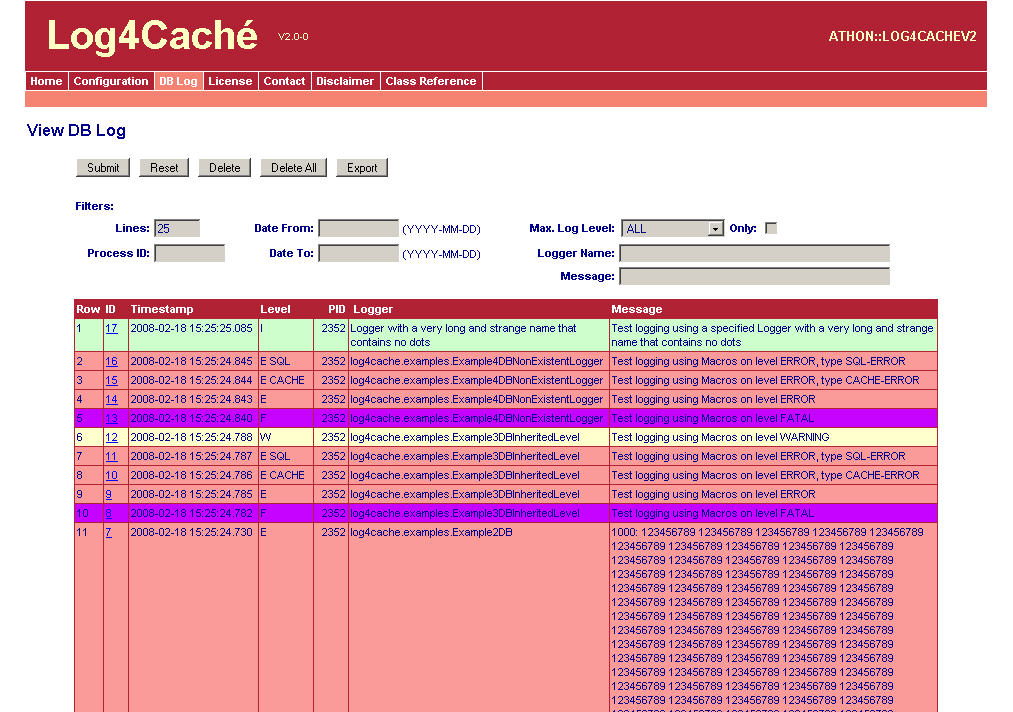
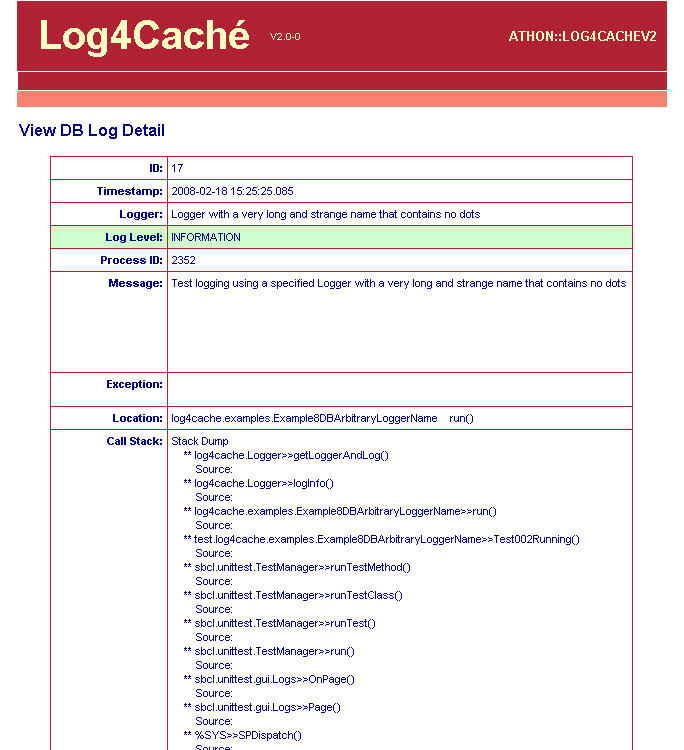
  • DB Log: View, delete, and export to file the logs created by the Appenders that write to the database
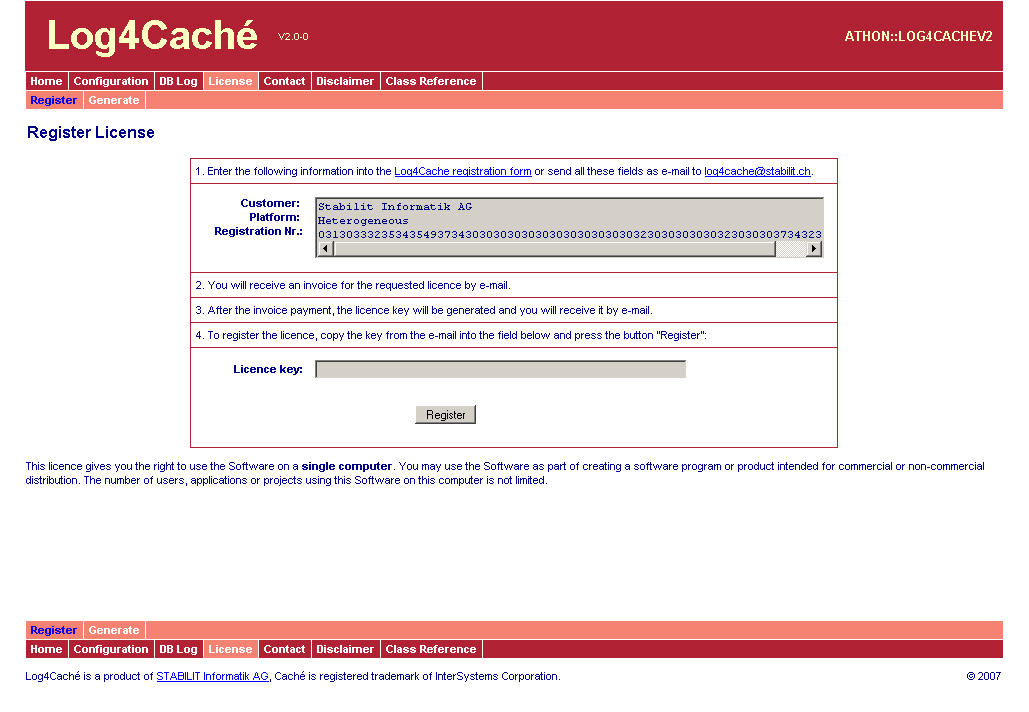
  • License: View and manage the Log4Caché license
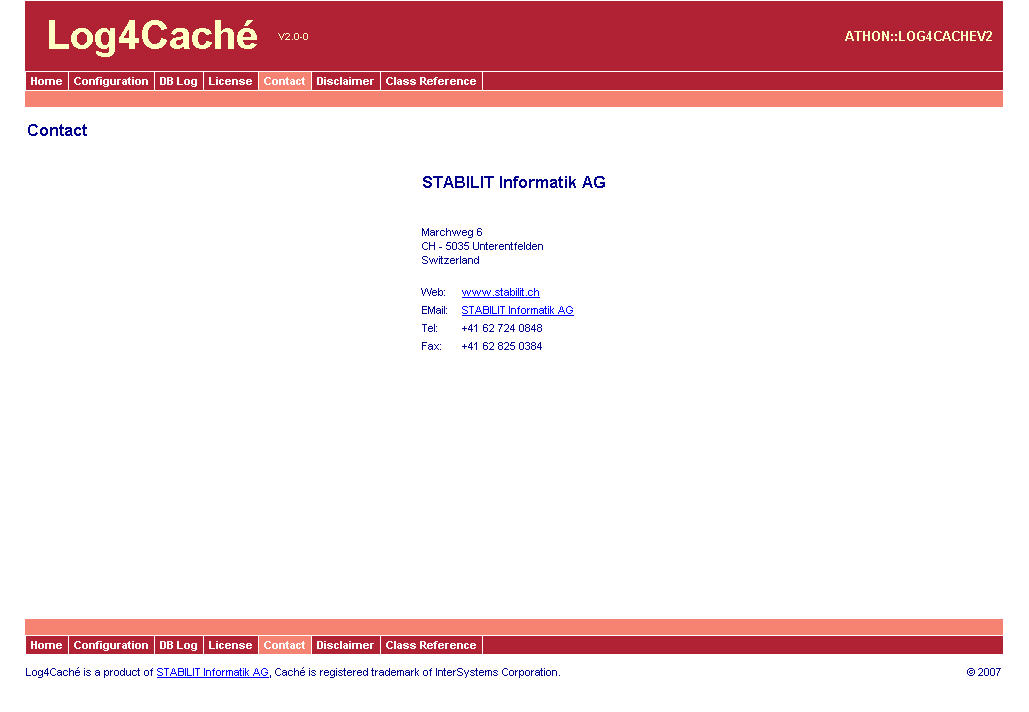
  • Contact: How to contact STABILIT AG
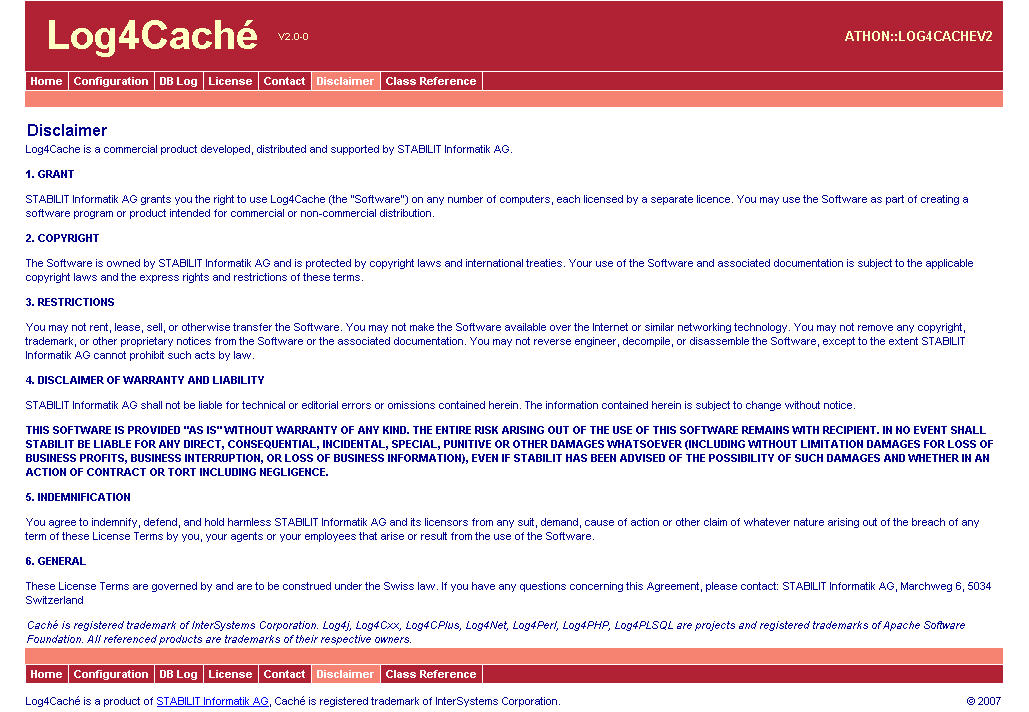
  • Disclaimer: Legal aspects of the Log4Caché product
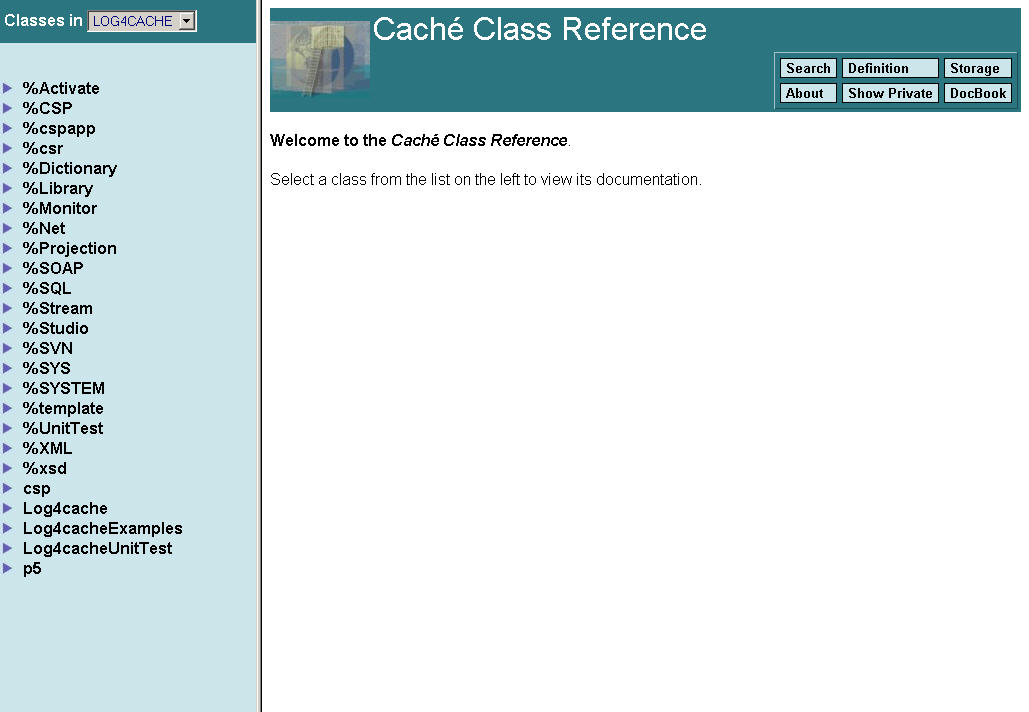
  • Class Reference: Open the InterSystems class reference page in a new browser window or tab

The actual version is visible in the header. Version Vx.y-z has the following meaning:

  • V - type of the software: V = released software, T = field test
  • x - Release number: Releases are not compatible to each other, e.g. have different interface and/or functionality
  • y - Version number: Versions are compatible to each other, have the same interface but may have different functionality
  • z - Revision number: Revisions are compatible to each other, have the same interface and the same functionality

2: Configuration

The configuration menu has five sub-menus:

  • Master: Set the Master LogLevel Filter
  • Logger: Generate and configure Loggers and assign Appenders to them
  • Appender: Generate and configure Appenders
  • Import/Export: Export or import the configuration to and from an external text file
  • Predefined: Create a predefined configuration

2.1: Master LogLevel Filter

The Master LogLevel Filter page allows you to view and change the master LogLevel filter.

Set the desired Master LogLevel Filter in the dropDown list "Log Level". The default is ALL.

Save the setting by klicking on the "Save" button.


2.2: Logger

The Logger configuration screen allows you to create, modify or delete Loggers. The list of existing Loggers is shown. The list contains only the rootLogger if no additional Loggers have been configured (the default).

The button "Add new Logger" displays the Logger Detail screen for defining a new Logger.

The button "Delete all Loggers" will delete all Loggers except the rootLogger, but will not delete the configured Appenders.

For modification or deletion of a specific Logger, click on its name. This will open the Logger Detail screen. 


2.2.1: Logger Detail

The Logger Detail screen allows you to create, modify, or delete a Logger.

When creating a new Logger, the name field is empty. The name is mandatory and must correspond exactly (case sensitive) with the name in your application. The Logger naming hierarchy follows the Caché package naming convention. E.g. "foo" is parent to "foo.test", "foo.test.IPC" is child of "foo.test".

When modifying an existing Logger, the name can not be changed any more. 

The "LogLevel" property specifies which logLevel will be processed by the Logger. The logLevels are:

  • INHERITED: the Logger will inherit the level from the parent Logger. If no parent exists, he inherits from the rootLogger
  • ALL: the Logger will process all log events.
  • DEBUG: the Logger will process log events of level DEBUG, INFORMATION, WARNING, ERROR and FATAL.
  • INFORMATION: the Logger will process log events of level INFORMATION, WARNING, ERROR and FATAL
  • WARNING: the Logger will process log events of level WARNING, ERROR and FATAL
  • ERROR: the Logger will process log events of level ERROR and FATAL
  • FATAL: the Logger will process only log events of level FATAL

The "Is Additive" checkbox switches the logger's additivity flag on and off. This checkbox is disabled for the rootLogger because the rootLogger has the additivity flag constantly set to OFF.

You can assign zero or more Appenders to a logger. Assigning Appenders to a logger is done by selecting one or multiple Appenders (with shift- or ctrl-click) in the list "Available". Pushing the "<" button moves the selected Appenders to the list "Assigned".

Deassigning Appenders from a Logger is done in just the same way: by selecting one or more Appenders in the "Assigned" list and moving them to the "Available" list by pushing the ">" button.

Clicking the "Save" button saves the Logger. If it was a new one, it will be inserted into the database.

Clicking the "Delete" button deletes this Logger from the database.

In any case, the list in the Logger screen will be updated. 


2.3: Appender

The Appender configuration screen allows you to create, modify or delete Appenders. The list of existing Appenders is shown. The list is empty if no Appenders have been configured.

The push button "Add new Appender" displays the Appender Create New screen for defining a new Appender.

The push button "Delete all Appenders" will remove all Appenders from all Loggers using them, and then delete all Appenders.

For modification or deletion of a specific Appender, click on its name. This will open the Appender Detail screen.


2.3.1: Appender Create New 

The Appender Detail screen allows you to create a new Appender.

Enter the name and select a type (class) for the new Appender, then press the "Continue" button. This will open the Appender Detail screen for setting further properties.


2.3.2: Appender Detail

The Appender Detail screen allows you to modify or delete an Appender.

The name and type are constant and can not be changed any more.

The "LogLevel" property specifies which logLevel will be processed by the Appender. This property is mandatory. The logLevels are:

  • ALL: the Appender will process all log events.
  • DEBUG: the Appender will process log events of level DEBUG, INFO, WARN, ERROR and FATAL.
  • INFORMATION: the Appender will process log events of level INFO, WARN, ERROR and FATAL
  • WARNING: the Appender will process log events of level WARN, ERROR and FATAL
  • ERROR: the Appender will process log events of level ERROR and FATAL
  • FATAL: the Appender will process only log events of level FATAL

The virtual logLevel INHERITED can not be used with Appenders, but only with Loggers.

The optional property "Layout" specifies the layout of the log entry. If this field remains empty, the layout "formatPlain" will be used.

Additional Properties:

Some Appenders need additional properties. Depending on the Appender Type, different entry fields appear where you can modify those properties. Some of them are mandatory (those property names are marked with an asteriks), some are optional.

Clicking the "Save" button saves the Appender. If it was a new one, it will be inserted into the database.

Clicking the "Delete" button deletes this Appender from the database. Before, this Appender gets removed from all Loggers using it.

If some mandatory values are missing, you will receive an alert and the Appender will not be saved. 

In any case, the list in the Appender screen will be updated on a successful save. 


2.4: Import/Export

The Import/Export screen allows you to write or read the entire configuration into or from an external ASCII file. The file syntax is similar to a Java property file.

It is not possible to export or import only a part of the configuration!

*** ATTENTION ***
The Import will replace the existing configuration with the imported one!


2.5: Predefined

The Predifined Configuration screen allows you to establish predefined configurations.

*** ATTENTION ***
Establishing a predefined configuration will delete the existing configuration!

"Initial" creates an initial configuration that contains only the rootLogger and two Appenders (AppenderConsole and AppenderTerminal).

"Example" generates the configuration of the example class selected in the dropDown list.


3: DB Log

The DB Log screen allows you to view, delete, and export to file the logs written by the AppenderDB or the AppenderDBRolling.

Initially the list contains the recent 25 log entries. All entry fields define filters which you can set to see those log entries you want to see.

  • Lines: defines the number of Log Events to be displayed (default = 25)
  • Process ID: restricts the display to Log Events produced by a particular process. The PID corresponds with the Caché Process ID
  • Date From/Date To: restricts the display to the selected date range
  • Level: restricts the display to Log Events of the selected level or above
  • Only: restricts the display to Log Events of the selected level only
  • Logger Name: restricts the display to Log Events produced by a particular Logger (a part of the Logger name will suffice)
  • Message: restricts the display to Log Events whose message contains the string entered

You must click the "Submit" button to apply the filters.

The "Reset" button sets all filters back to their initial status.

The "Delete" button will delete all Log Events shown in the list.

The "Delete All" button will delete all Log Events, even those not shown in the list.

The "Export" button exports all Log Events shown in the list as text into the file "log4cache_DB.log". If this file already exists, the logs will be appended to the end of the file.

To view all details of a single Log Event, click on the ID on the left. The details appears in a separate window.


4: License

This screen shows the actual license situation. This menu has only one sub-menu that opens the screen Register License.


4.1: Register

This screen shows the required information you must pass to STABILIT in order to receive a valid licence. This information is specific to your Caché installation.

Follow the process described on this form to request and receive the licence key and to register it with the "Register" push button. The licence is registered only once for each Caché installation.


5: Contact

This screen shows how you can contact STABILIT Informatik AG.


6: Disclaimer

This screen informs you about the legal aspects of the Log4Caché product.


7: Class Reference

This screen brings you to the class description page. This information is valuable for beginners as well a for advanced users. It provides a deeper view into the Log4Caché product.

Examples are of great help for developers.